


The Main Menu
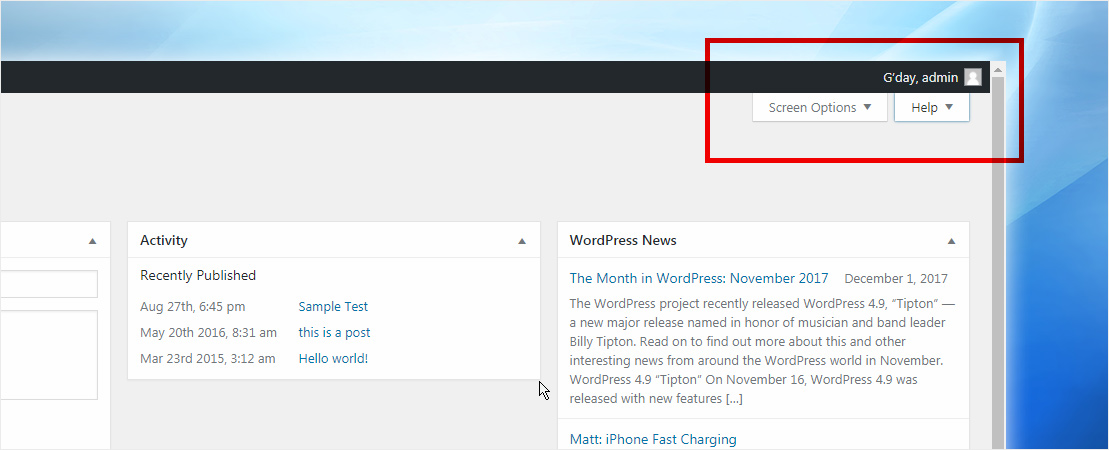
On most pages, just below your Username there are two small inverted tabs: one labelled ‘Screen Options’ and another labelled ‘Help’. Clicking either will cause a panel to slide down. The Help panel contains useful information for the Dashboard while the Screen Options tab allows you to configure your display, controlling what you see on the page. Depending on which page you are on, the ‘Screen Options’ tab will have different choices. On the Dashboard page you can control exactly what panels are displayed on the page.
The Main Menu options and their uses are:

Dashboard
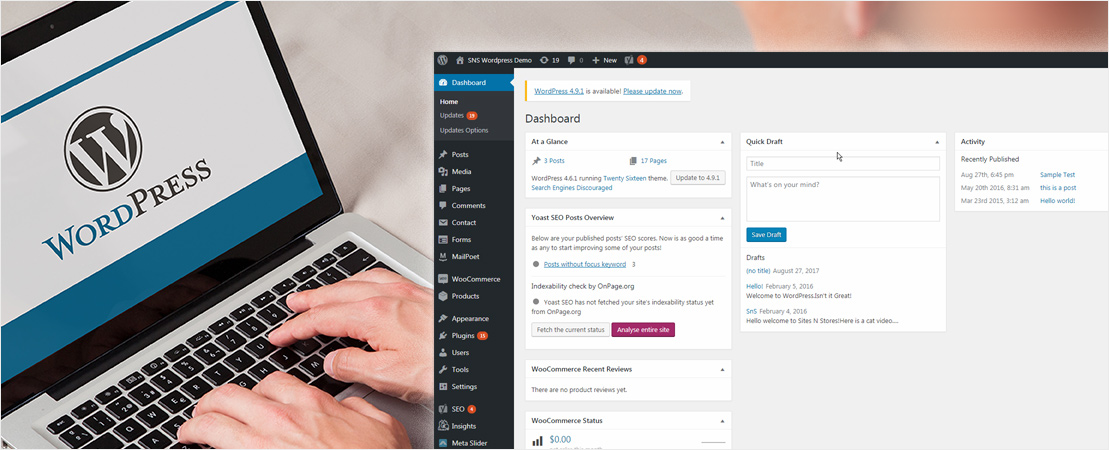
This will display your main Dashboard ‘homepage’. In the top-left corner of the page, you’ll see a brief overview of the number of posts, pages and comments on your site. If any of your plug-ins require updating, a text box will also appear at the top of the page.
If you have the Akismet anti-spam plugin activated, you will also see the number of Spam comments or comments awaiting moderation.
Posts
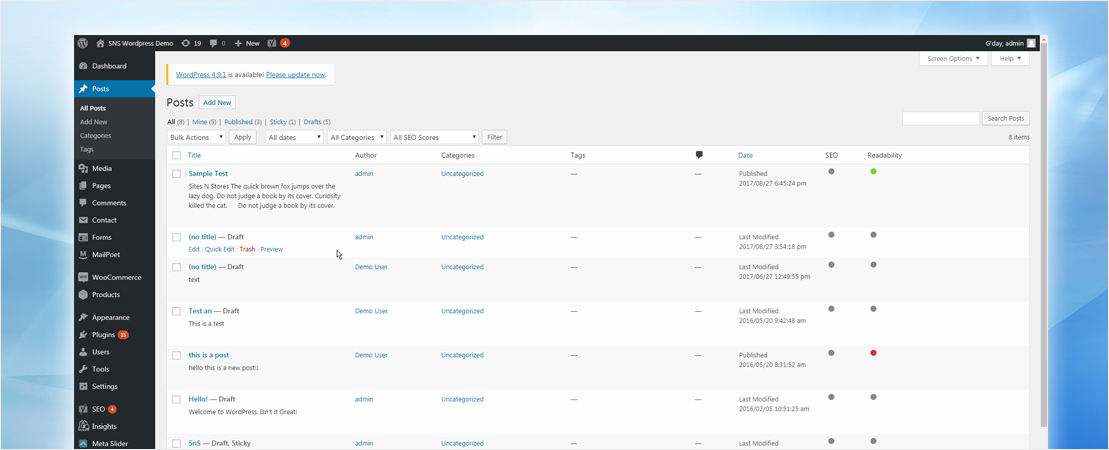
This is where you can create a new Blog Post. You can also update your Categories and Post Tags. There are different options to choose from when you make your post and there are drop-down arrows beside them. Aside from being able to schedule your post, WordPress lets you choose from the different formats and add-ons.
Media
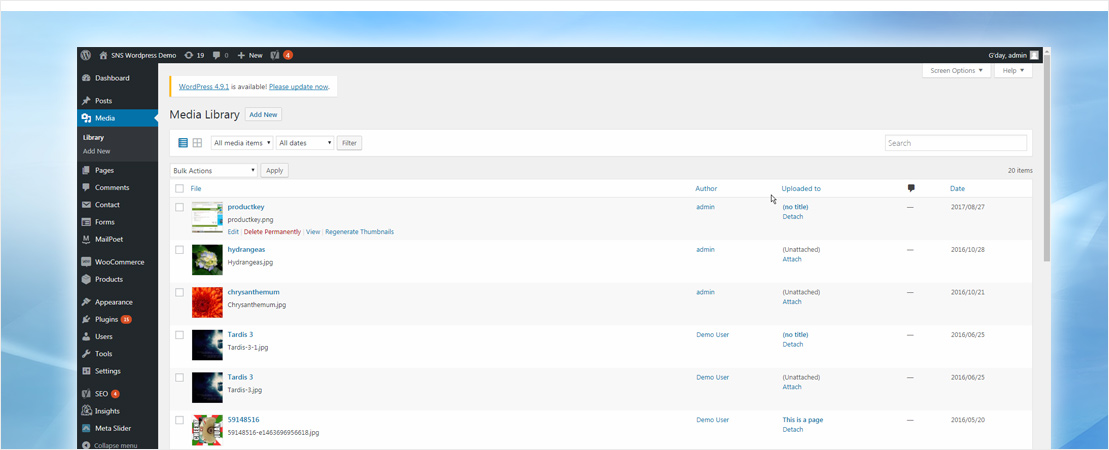
This is where all your uploaded images, documents or files are stored. You can browse through your media library, as well as edit and update the files. If you’re not familiar on how to add images to your media, we created a complete guide just for you!
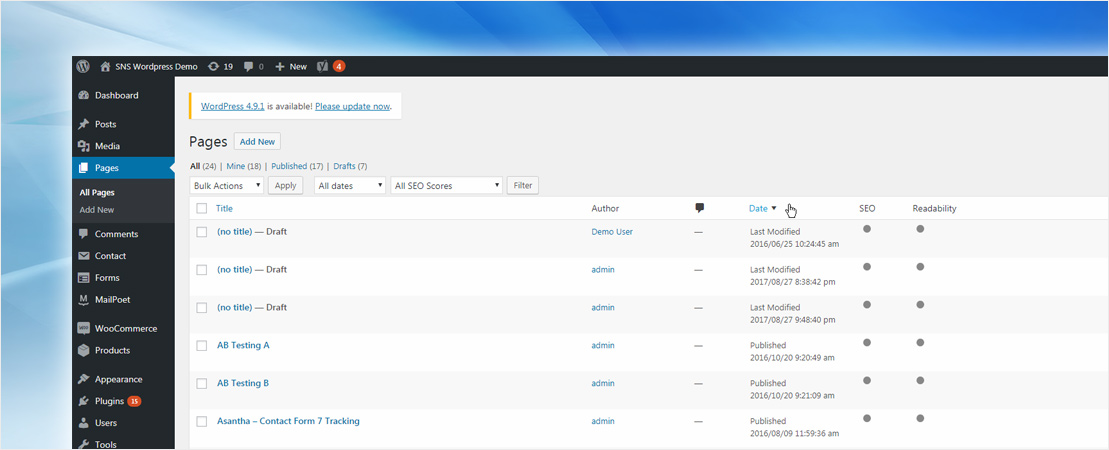
Pages
This is where you create and maintain all your pages. You can add, remove and edit the pages on your Website. You can all find your Homepage, About, Blogs and Contact pages all located here.
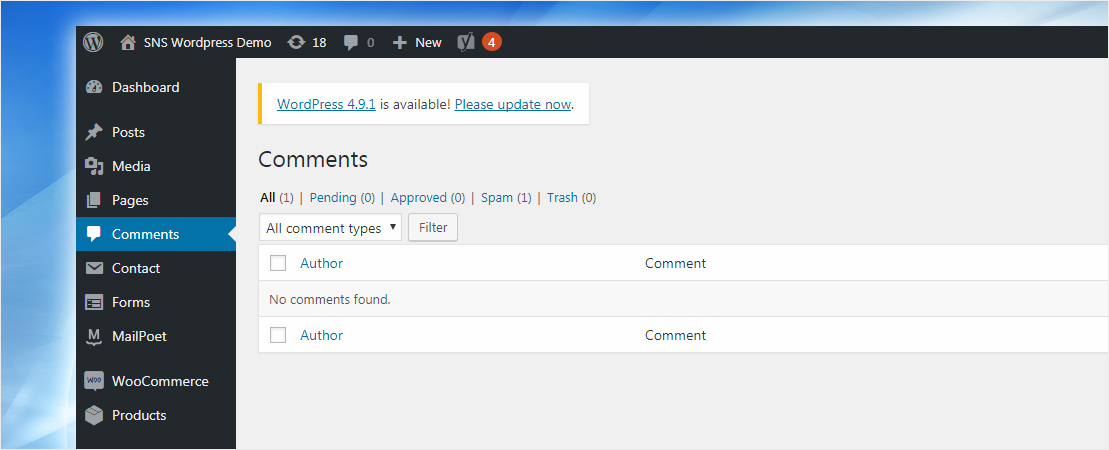
Comments
You can manage all your comments within this section, including replying to comments or marking them as spam. When a person leaves a comment on your post, it will require your approval before they appear on your Website.
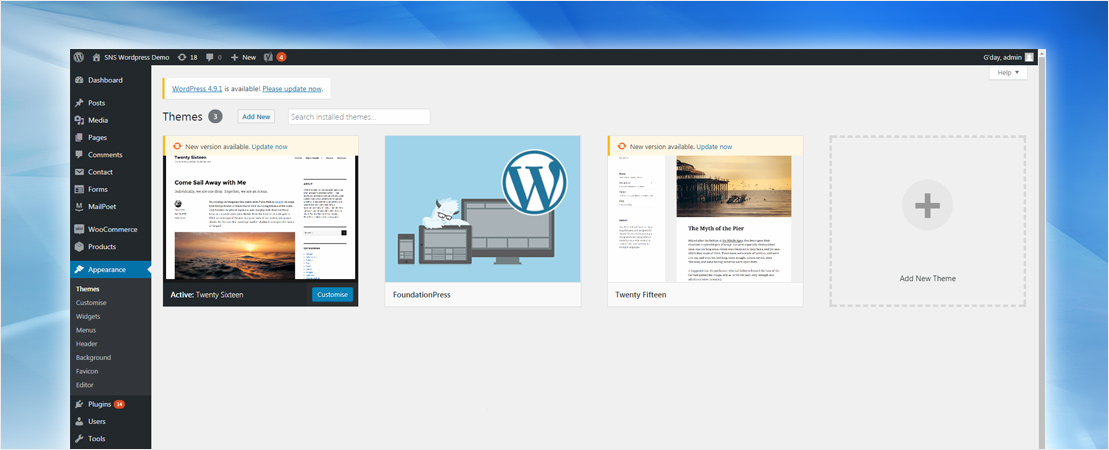
Themes
This is where you can choose among the various themes available on WordPress. Whether you’re on free or premium, there are a lot of designs you can use that will help to set the tone of your Website and aid in establishing your branding and ‘look’ of your Business. Make sure you pick a theme that’s appropriate for your Business and one that looks professional.
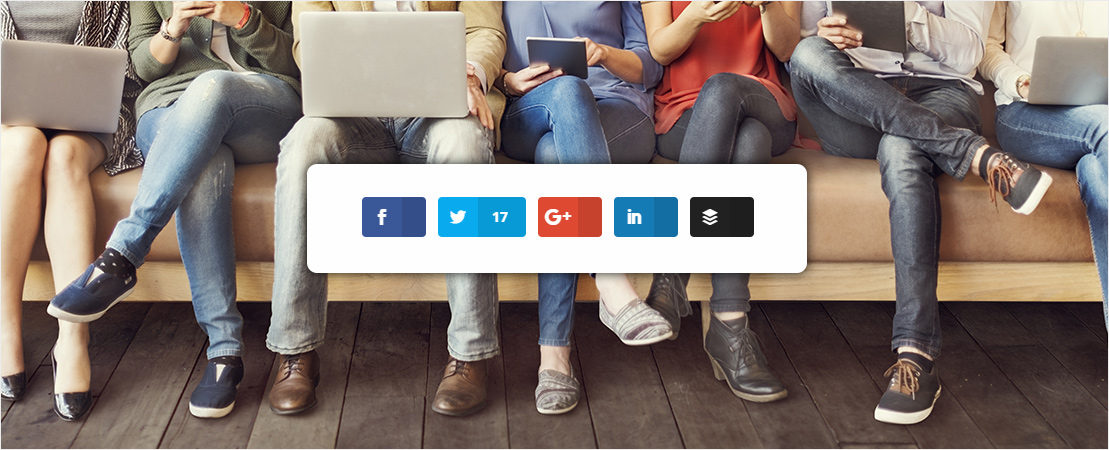
Sharing
This option allows you to connect your WordPress account with your other Social Media accounts, such as Facebook, Instagram and Twitter. In this way, you can share your posts across your other accounts, which expands your reach and strengthens the exposure of your Website. This is a great way to begin your Digital Marketing efforts, as sharing blogs helps to establish your voice as an authority within your industry and allows you to build a following of keen readers.
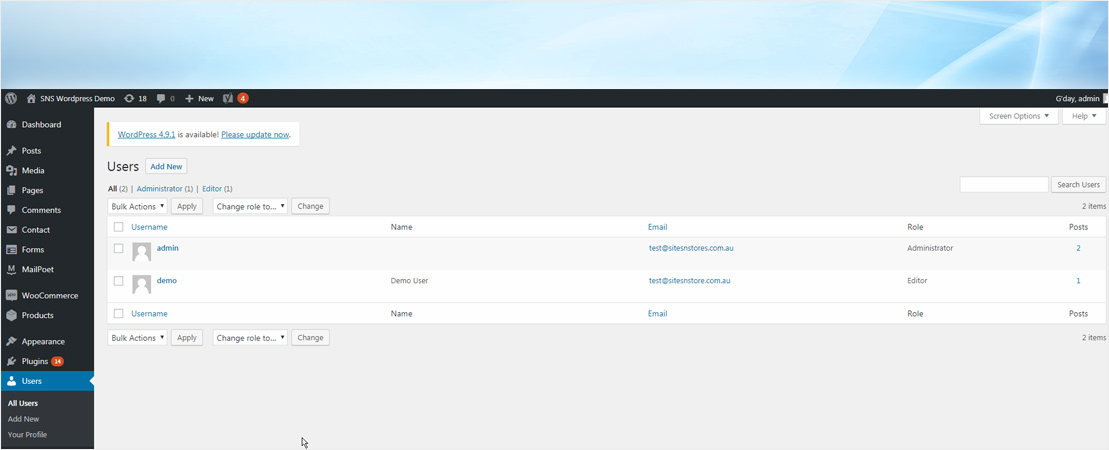
People
This screen lists all the existing users for your site. Depending on your ‘Role’ within your WordPress account, you can also add new users as well as manage their Roles. You can add other Admins to your Website, if you trust them enough to handle your Business. Remember, your customers depend on your Website when they want to know more about your Business so make sure it’s in good hands.
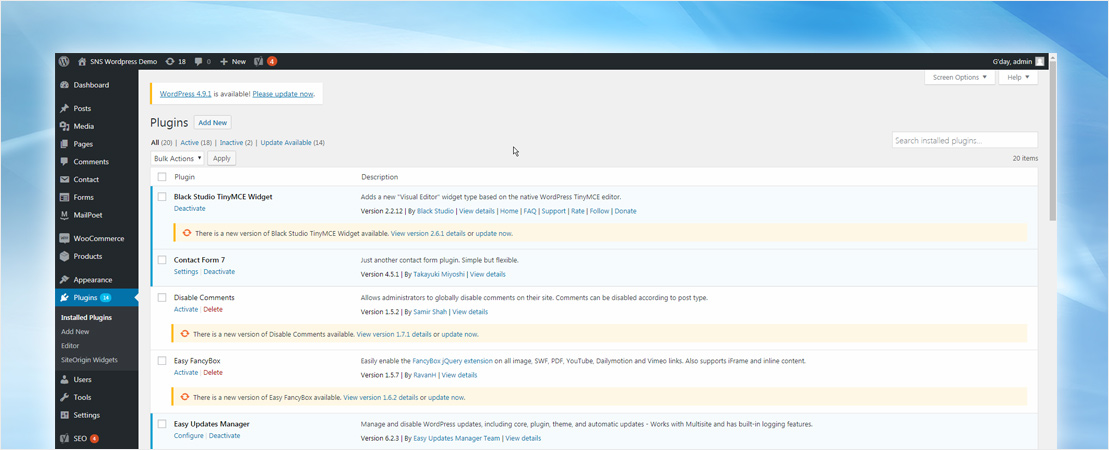
Plug-ins
Plug-ins extend and expand the functionality of your WordPress site. You can add or delete plug-ins on this page, as well as activate or deactivate them. There are currently more than 52,000 plug-ins available, so you’re bound to find something that improves your Website’s functionality to at least some extent. There are Plug-ins that help you track you progress of your Website like site visits and SEO, as well as those that help you secure your Website and prevent it from being hacked.
Domains
If you wish to add another domain name for your Website, WordPress allows you to do so, but only if you’re on Premium account. If you already have an existing domain, you could also use it for your Website.
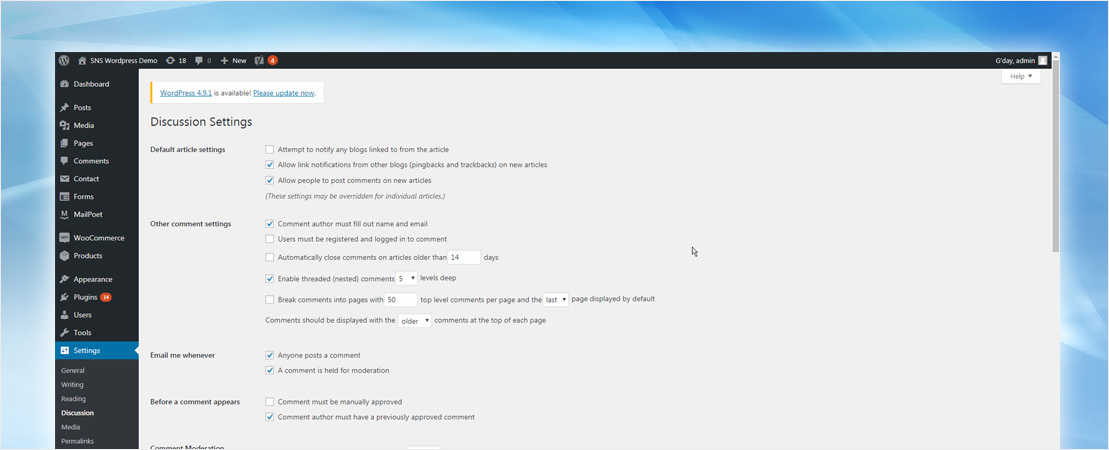
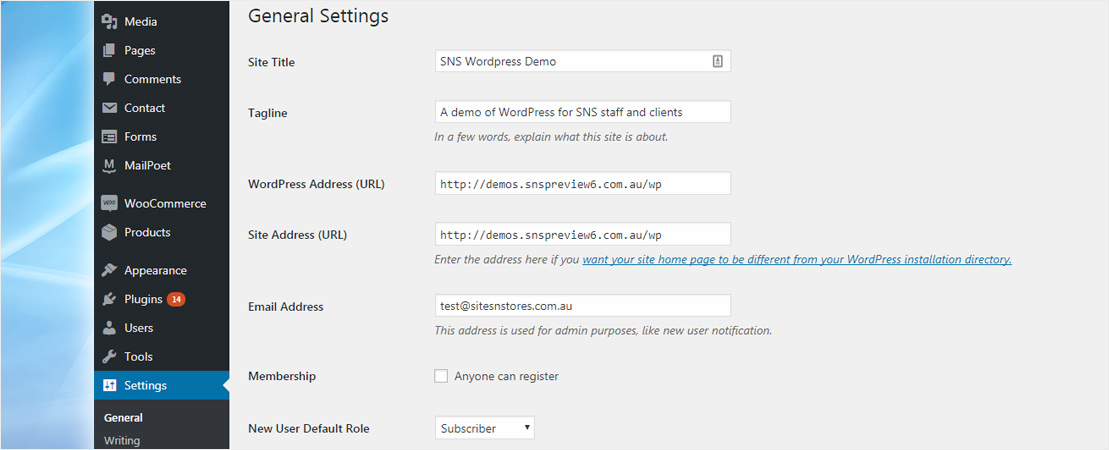
Settings
This is where most of your site is configured. Among other things it allows you to edit your site name and URL, where your posts appear, whether people can leave comments and numerous other settings. Most times, once your site is set-up, there’s no need to change any of the settings within this section. In fact, if a developer has built your Site for you, it’s best to confer with them before you make any changes here!
You can also find under Settings your Site Tools. This section gives you access to various convenient tools. You can also import data to your WordPress site or export all your WordPress data to a file.
Unless you are sure, never press either ‘Delete Content’ or ‘Delete your Site Permanently’! This will, as you can guess, delete your Website for good, sending it into the technical blackhole oblivion.
Now that you are familiar with your Dashboard, you can navigate your way around without living in fear that you’ll completely destroy your Website by clicking the wrong tab! It may take you a few tries to get used to how everything works, but once you get the hang of it, you’ll feel as comfortable as any tech-savvy developer! Well, almost…